+(1)")
While I’ve been at it watching endless Domino pizza making POV clips on YouTube lately, I’ve had the chance to make another pizza of my own entirely from scratch that is homemade in none other than deep pan pizza for lunch – the one that I used to enjoy eating those from both Pizza Hut & Dominos.
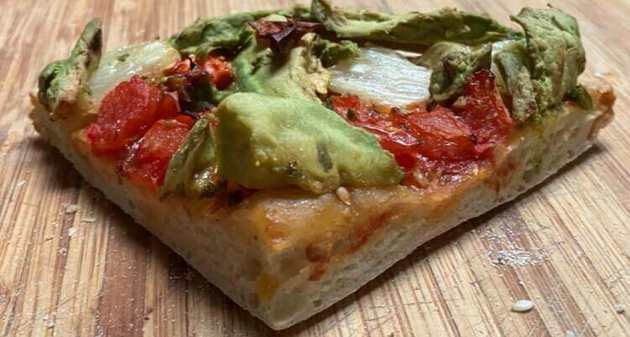
Every now and then we have days when we go with a day without meat as thought this would be a great time to make one without meat of course as still eat meat outside of a certain meat-free day for the most part & yet this deep pan pizza I’ve made both tastes and also looks good at the same time.
The ingredients I had on it was tomato sauce mixed with oregano and a bit of white pepper alongside avocado, tomatoes and some pineapple as still on the lookout for some dairy-free cheese and also meat-free sausage someday that doesn’t have soybeans, black beans and pine nuts on it to avoid eczema. I’ll let you know I’m able to find one or a few that can help improve my pizza making even better of any kind without any problems.
Every time though when you make pizza dough with yeast and then wait it out to rise for 1-2 hours, make sure you don’t thin out your base too much.
Yes, I’m all for it also with thin n’ crispy pizza as done that a few times before as also loved eating that too; But again, make sure leave 1-2 inches out depending on the volume you put in with your yeast by not stretching it too thin.
Otherwise, it will come out a bit like a volcano/part basketball shaped like pizza – at least after cooking the bottom part based from experience.
Although I had to collapse it after cooking the top part which then looks like a normal flat shaped pizza as if I was a chiropractor, but then it’s best to keep it with a rule of thumb as said above for next time.
With deep dish pizza dough, you might want to keep it a bit longer when it comes to the cooking process, and that includes both the bottom first and then the top sides with the saucing and other toppings of your choice.
Patience is key but boy, the pizza looks stunning hands down. It’s easy for me to manage with making pizza (as long as you keep a good rule of thumb with how you want to shape your pizza base) whenever & wherever I like from time to time.
+(1)")


 (1)")
 (1)")
